kali ni ane mo nyobak makek centos 6.4 untuk web server. service yang dijalankan meliputi :
1. apache
2. php
3. mysql
4. phpmyadmin
sebelum menjalankannya terlebih dahulu disiapkan kopi, teh, roti, biar gk ngantuk hehehe....
langsung ja kita sikat.
1. APACHE
install apache
#yum install httpd
setting apache agar saat booting berjalan otomatis
#chkconfig --levels 235 httpd on
jalankan apache
#service httpd start
untuk ngetesnya ane bukak alamat IP ane di browser

2. PHP
install php dan php module
#yum install php
restart apache
#service httpd restart
testing php dengan membuat file info.php didalam direktori html.
#nano /var/www/html/info.php
isikan lsiting program dibawah ini
<?php
phpinfo();
?>
kemudian simpan.
untuk ngetesnya buka localhost/info.php

3. MYSQL
install mysql
#yum install mysql mysql-server
agar mysql jalan otomatis saat booting ketik baris dibawah ini kemudian restart
#chkconfig --levels 235 mysqld on
#service mysqld start
#service mysqld start
set pasword untuk akun root
#mysql_secure_installation
NOTE: RUNNING ALL PARTS OF THIS SCRIPT IS RECOMMENDED FOR ALL MySQL
SERVERS IN PRODUCTION USE! PLEASE READ EACH STEP CAREFULLY!
In order to log into MySQL to secure it, we'll need the current
password for the root user. If you've just installed MySQL, and
you haven't set the root password yet, the password will be blank,
so you should just press enter here.
Enter current password for root (enter for none):
OK, successfully used password, moving on...
Setting the root password ensures that nobody can log into the MySQL
root user without the proper authorisation.
Set root password? [Y/n] <-- ENTER
New password: <-- yourrootsqlpassword
Re-enter new password: <-- yourrootsqlpassword
Password updated successfully!
Reloading privilege tables..
... Success!
By default, a MySQL installation has an anonymous user, allowing anyone
to log into MySQL without having to have a user account created for
them. This is intended only for testing, and to make the installation
go a bit smoother. You should remove them before moving into a
production environment.
Remove anonymous users? [Y/n] <-- ENTER
... Success!
Normally, root should only be allowed to connect from 'localhost'. This
ensures that someone cannot guess at the root password from the network.
Disallow root login remotely? [Y/n] <-- ENTER
... Success!
By default, MySQL comes with a database named 'test' that anyone can
access. This is also intended only for testing, and should be removed
before moving into a production environment.
Remove test database and access to it? [Y/n] <-- ENTER
- Dropping test database...
... Success!
- Removing privileges on test database...
... Success!
Reloading the privilege tables will ensure that all changes made so far
will take effect immediately.
Reload privilege tables now? [Y/n] <-- ENTER
... Success!
Cleaning up...
All done! If you've completed all of the above steps, your MySQL
installation should now be secure.
Thanks for using MySQL!
sinkronisasi mysql agar support dengan php
#yum install php-mysql php-gd php-imap php-ldap php-mbstring php-odbc php-pear php-xml php-xmlrpc
install jugaAPC sekalian
#yum install php-pecl-apc
kemudian restart apache
#service httpd restart
untuk ngetesnya jalankan kembali localhost/info.php hasilnya seperti ini

4. PHPMYADMIN
download rpmforge terlebih dahulu.
#wget http://pkgs.repoforge.org/rpmforge-release/rpmforge-release-0.5.2-2.el6.rf.i686.rpm
install rpmforge
#rpm -Uvh rpmforge-release-0.5.2-2.el6.rf.i686.rpm
install phpmyadmin
#yum install phpmyadmin
konfigurasi terlebih dahulu phpmyadmin-nya.
#nano /etc/httpd/conf.d/phpmyadmin.conf
rubah isinya menjadi seperti ini :
#
#  Web application to manage MySQL
#

#<Directory "/usr/share/phpmyadmin">
#  Order Deny,Allow
#  Deny from all
#  Allow from 127.0.0.1
#</Directory>

Alias /phpmyadmin /usr/share/phpmyadmin
Alias /phpMyAdmin /usr/share/phpmyadmin
Alias /mysqladmin /usr/share/phpmyadmin
settingan diatas dilakukan agar mengijikan network mengaksesnya, tidak hanya localhost
setelah itu rubah autentification dari cookies menjadi http
#nano /usr/share/phpmyadmin/config.inc.php
[...]
/* Authentication type */
$cfg['Servers'][$i]['auth_type'] = 'http';
[...]
restart apache#service httpd restart
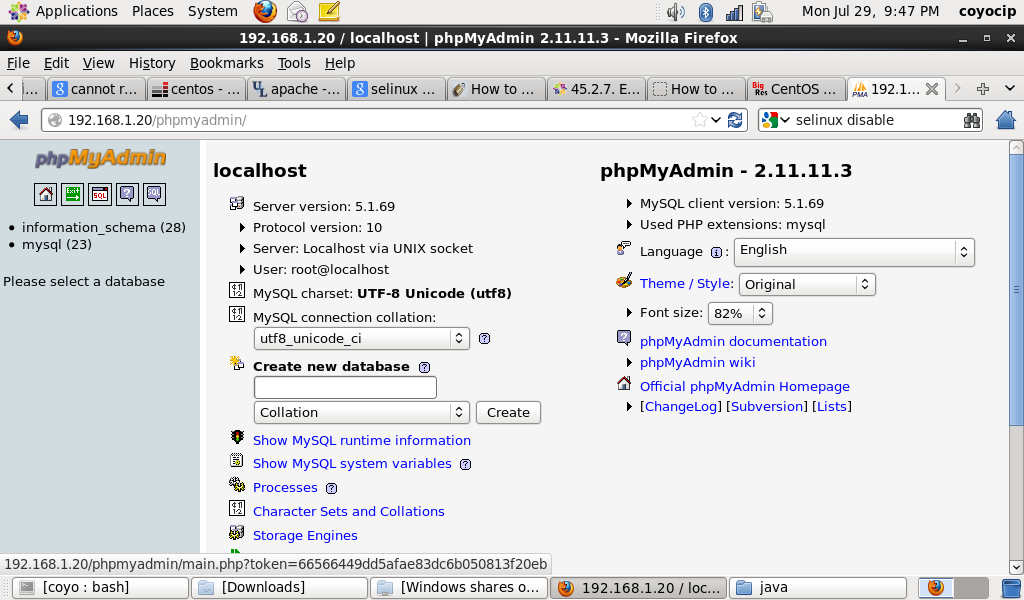
untuk ngetesnya buka localhost/phpmyadmin
pada centOS, instalasi default menghasilkan firewall yang tidak mengijinkan port 80. agar network kita dapat mengakses web server, maka port 80 harus dibuka
edit file iptables
#nano /etc/sysconfig/iptables
tambahkan perintah dibawah ini :
-A INPUT -m state --state NEW -m tcp -p tcp --dport 80 -j ACCEPT
-A INPUT -m state --state NEW -m tcp -p tcp --dport 443 -j ACCEPT
simpan iptables dan restart iptables#service iptables restart
kalau masih tidak jalan, maka SELinux harus disable. buka file selinux
#nano /etc/sysconfig/selinux
ganti SELINUX=disable
selesai.
sumber : http://www.howtoforge.com/installing-apache2-with-php5-and-mysql-support-on-centos-6.4-lamp
Tidak ada komentar:
Posting Komentar